Tutorials - Mac Exporting
By Adriaan de Jongh and Gramps
When exporting for macOS, there are a few additional things to consider.
Entitlements
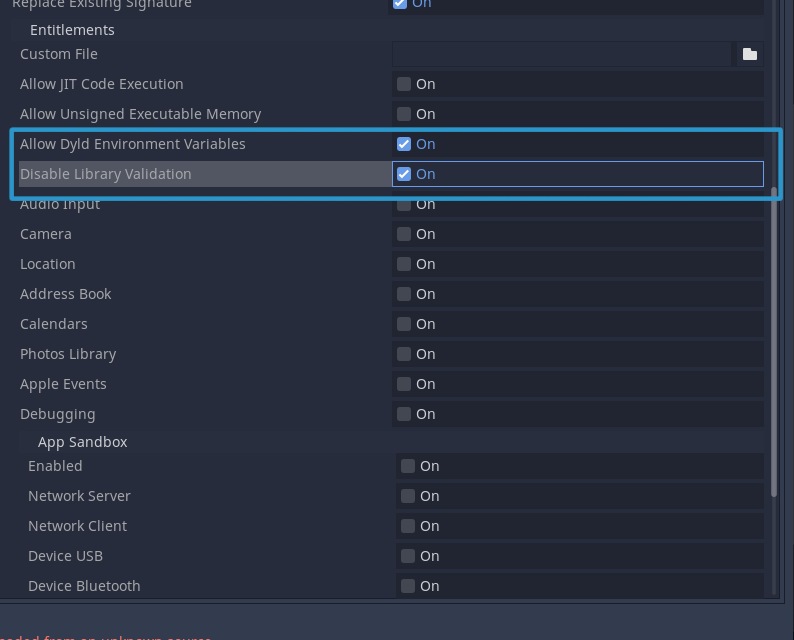
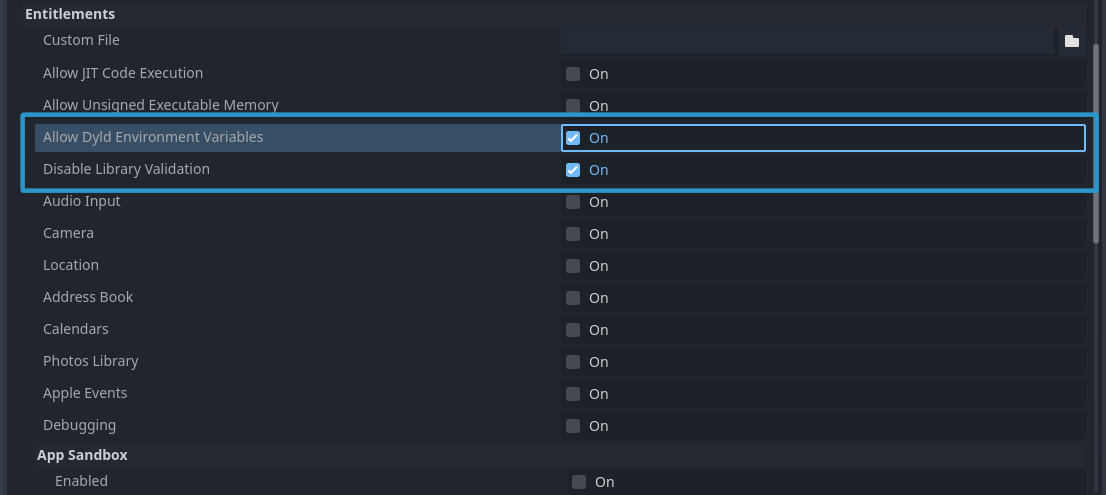
Valve says that the disable library validation and allow Dyld environment variables export settings should only be needed on Catalina 10.15, but users report needing to check these boxes anyway to allow Steamworks to load and the overlay to work properly.


Codesigning and Notarization
Codesigning and notarization are Apple's way to verify which executables are build by who. Because Valve runs the game if a user presses the Play button in Steam, both codesigning and notarization are not strictly necessary as Steam essentially takes responsibility for the app it runs. However, this may change in the future, so it may be wise to explore codesigning and notarization anyway. Besides: should you release your game on other platforms, codesigning and notarization may be required for the user to run your game on their Mac at all.
For Godot 3.x users, codesigning unfortunately makes the game unable to communicate with Steam for some users, resulting in a generic "Steam not running" error. This will consequently fail notarization as well. If you're on Godot 3.x, make sure to disable codesign in the export settings.
For Godot 4.x users wanting to codesign their game, first make sure you have a paid Apple Developer account. The easiest way to set up your Mac to codesign and notarize your app is to download Xcode and add your developer account in its settings as well as create the signing certificates you need through that same developer account settings window in Xcode.
To be able to notarize your game's .app, you'll need to codesign the libgodotsteam.macos.template_release.framework file in the addons/godotsteam/osx/ folder of your project every time you download or update the GodotSteam GDExtension. Use the following terminal command, replacing the whole 'Developer ID' string with the full name of the signing certificate on your Mac. If you can't find this certificate in the Keychain app, go back to the developer account settings in Xcode and create a Developer ID certificate there.
codesign --deep -fvs "Developer ID Application: <team name> (<team ID>)" libgodotsteam.macos.template_release.framework
After codesigning the framework, simply fill in all the codesign and notarization export settings and let the Godot export to macOS handle the rest of the codesigning and notarization!
Steamworks Components
If you're using the GDExtension version of GodotSteam, you can skip this step – the right Steamworks binaries are already included.
If you're using another version of GodotSteam, you will need to add the following files to your app Contents folder after each export for Steamworks to work:
libsteam_api.dylibto{your game}.app/Contents/MacOSfolderlibgodotsteam.frameworkto{your game}.app/Contents/Frameworksfolder
The libsteam_api.dylib file should be in the redistributable_bin/osx folder inside the Steamworks SDK. Make sure it matches the Steamworks API version you are using to compile the editor/template or it will crash. Here is a handy shell script you can run after you export your mac build to a zip file.
#!/bin/bash

GAME_NAME="Your Game"

# Define the path to the ZIP file
ZIP_FILE="./builds/mac/$GAME_NAME.zip"

# Check if the zip file exists
if [ -f "$ZIP_FILE" ]; then
    unzip -o "$ZIP_FILE" -d "./builds/mac" || exit
fi

# copy dylib file
cp "./src/addons/godotsteam/osx/libsteam_api.dylib" "./builds/mac/$GAME_NAME.app/Contents/MacOS/libsteam_api.dylib" || exit

# copy framework folder
cp -R "./src/addons/godotsteam/osx/libgodotsteam.framework/" "./builds/mac/$GAME_NAME.app/Contents/Frameworks/libgodotsteam.framework/" || exit